Appearance
This guide will walk you through all the available settings to customize how and when your automations are sent, as well as their appearance.
Notifications
Define who receives the automated notification. You need to choose at least one option to make our app working.
Send to staff
Enable this option to send the automation to store staff or owners. When you select this, an input field will appear where you can enter a list of recipient email addresses.
You can enter up to 5 email addresses. Separate each email with a comma (e.g., admin@shop.com, staff@shop.com).
Send to customer
Enable this option to send the automation directly to the customer associated with the order.
Trigger event
Choose the specific Shopify event that will trigger this automation to run.
- Trigger when an order was created: The automation runs as soon as a new order is placed.
- Trigger when an order was cancelled: The automation runs when an order is cancelled.
- Trigger when an order was paid: The automation runs when the order's payment status is marked as paid.
- Trigger when an order was fulfilled: The automation runs when the order is fulfilled in Shopify.
- Trigger when a draft order was created: The automation runs when a new draft order is created.
Attachments
You can attach a PDF to your notification. Select one of the PDF templates you have already created from the dropdown menu.
Design & Branding
Customize the visual appearance of your notification template to match your store's brand identity.
Logo
- Enable logo: Toggle this on or off to show or hide your store's logo in the template.
- Logo width: Adjust the width of your logo in pixels. Upon installation, Doran automatically detects this information from your Shopify store settings, but you can override it here.
- Logo height: Adjust the height of your logo in pixels.
Colors
- Primary color: Set the main color for the template. This is typically your primary brand color.
- Accent color: Set the secondary color used for highlights and details.
Typography
- Font family: Choose a font for the template text. We currently support the following fonts:
- Anton
- Arimo
- Arial
- Barlow
- Bitter
- Cabin
- Calibri
- Crimson Text
- Dosis
- Fira Sans
- Heebo
- Hind
- Inconsolata
- Josefin Sans
- Karla
- Lato
- Libre Baskerville
- Libre Franklin
- Lora
- Merriweather
- Montserrat
- Muli
- Nanum Gothic
- Noto Sans
- Noto Sans JP
- Noto Sans KR
- Noto Sans TC
- Noto Serif
- Nunito
- Nunito Sans
- Open Sans
- Oswald
- Oxygen
- Playfair Display
- Poppins
- PT Sans
- PT Sans Narrow
- PT Serif
- Quicksand
- Raleway
- Roboto
- Roboto Condensed
- Roboto Mono
- Roboto Slab
- Rubik
- Slabo 27px
- Source Sans Pro
- Titillium Web
- Ubuntu
- Varela Round
- Work Sans
- Font size: Adjust the base font size for the text in your template.
Testing and Activation
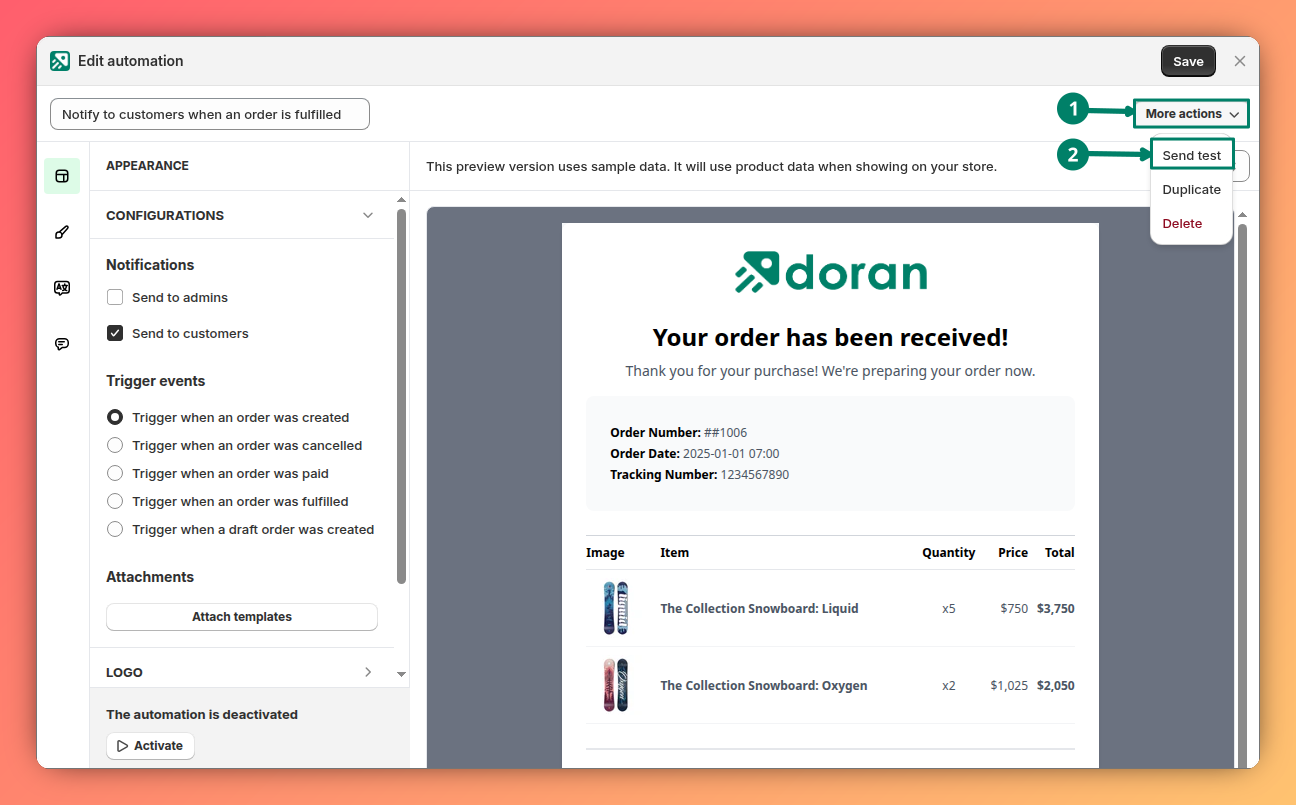
Send test
Before activating your automation, you can send a test email to yourself to preview how it looks.
Enable/disable automation
Use the main toggle switch at the top of the page to activate or deactivate this automation. When enabled, it will run automatically whenever the trigger event occurs.

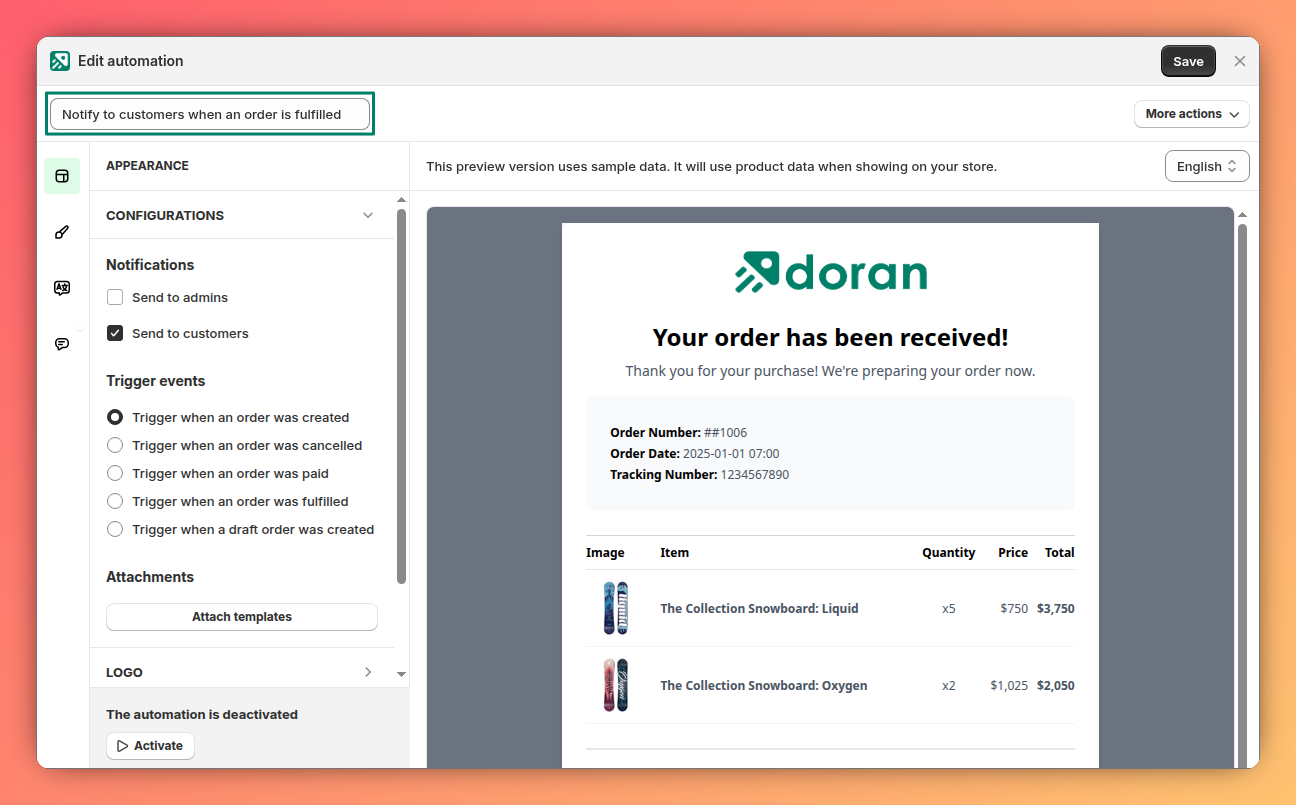
Automation name
Change the name of your automation here. This name is for internal use only and helps you organize and identify your different automations within the app.
Automations
Learn how to manage and monitor your automated workflows. This guide explains the Automations dashboard, where you can view and filter your automations, and the history log, where you can track every email sent.
Settings
Learn how to access and modify the settings for your automation templates. This guide covers how to preview your changes in real-time and quickly locate specific settings by clicking directly on the template preview.